Optimize Your Ride: Mastering Your Snowboard Stance for Peak Performance

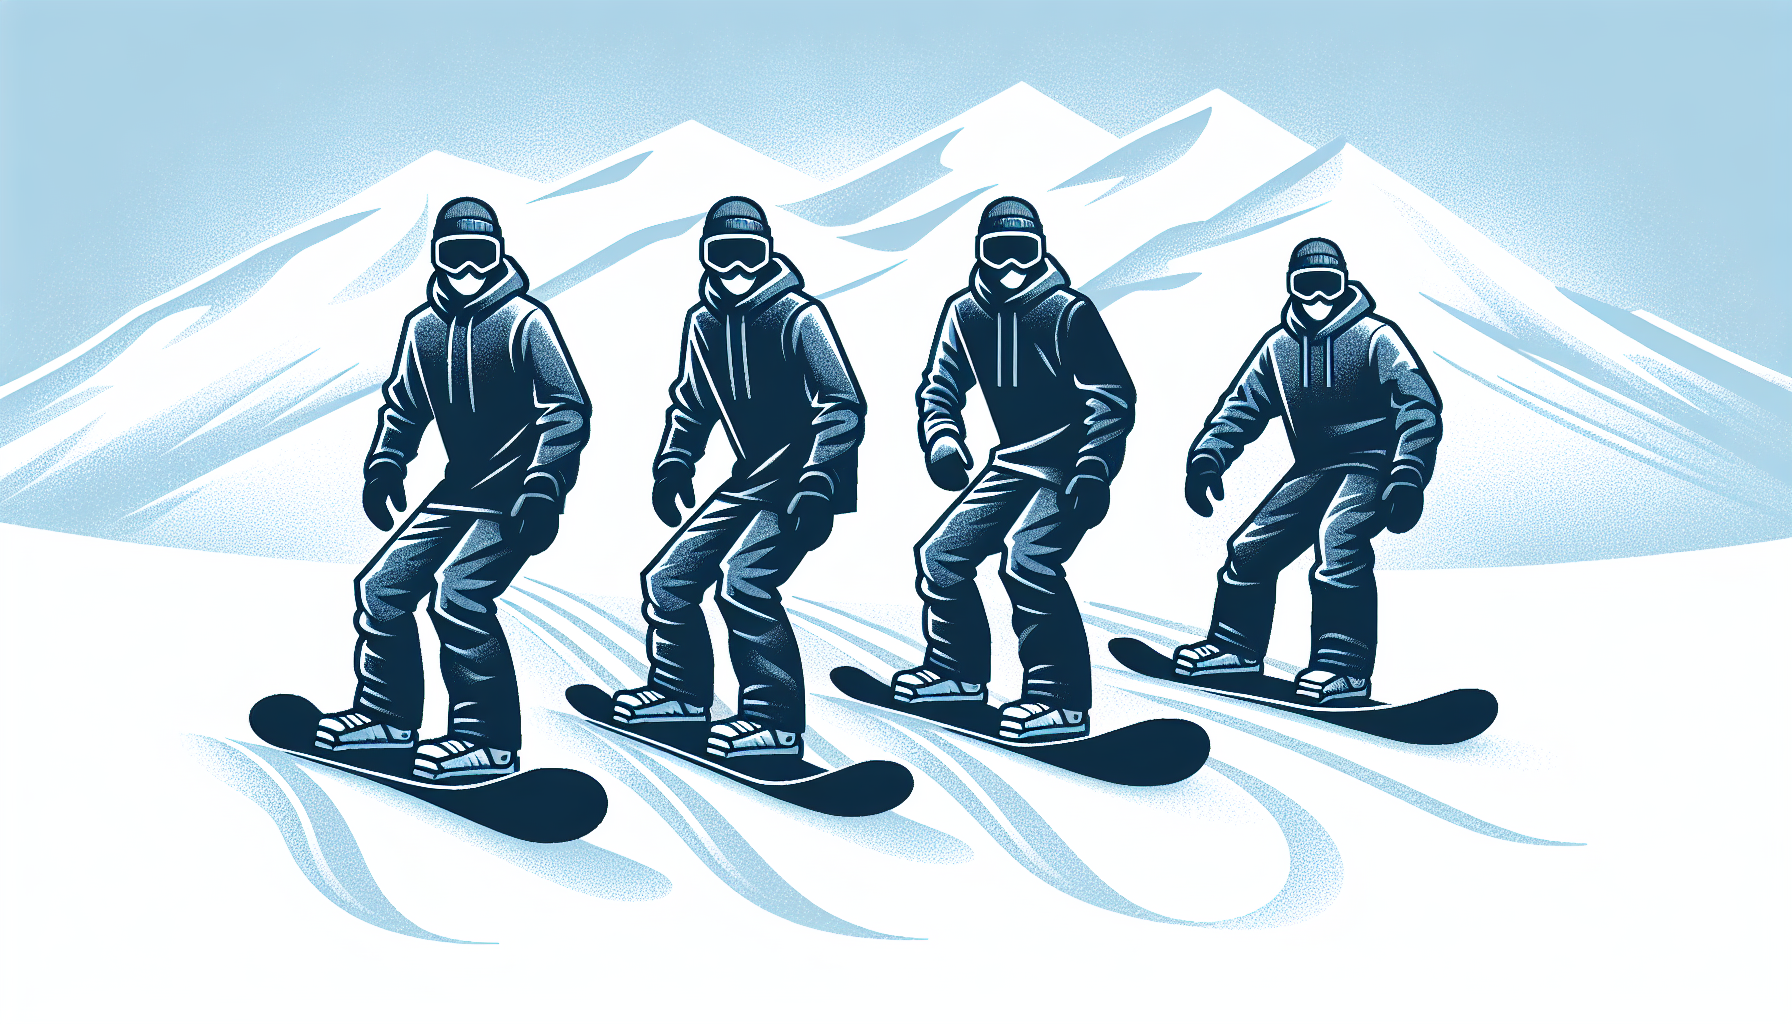
Struggling with your snowboard stance? Whether you’re a beginner seeking stability or a pro fine-tuning control, your stance is the foundation of your ride. This guide will navigate you through determining if you’re regular or goofy, finding your ideal stance width, and aligning your bindings perfectly. Plus, we’ll explore different stance options for various styles of riding on the slopes. Get ready for a deep dive into the essentials of snowboard stance, tailored to enhance your performance and comfort on the mountain.
Determining Your Dominant Foot: Regular vs. Goofy

Much like other sports, balance and control are key to snowboarding. Figuring out your dominant foot is the initial step towards mastering these. Are you ‘regular’ (left foot forward) or ‘goofy’ (right foot forward)? The answer to this question will set the foundation for your snowboarding stance. The terms ‘regular’ and ‘goofy’ might sound like something out of a comic book, but they’re crucial to understanding snowboarding stances. If you’re a ‘regular’, your left foot leads. If you’re ‘goofy’, your right foot takes the lead.
So how do you determine whether you’re regular or goofy? One way to find your dominant foot is to pay attention to how you naturally move – which foot do you use to kick a soccer ball, or which foot do you lead with when climbing stairs? You could also try the slide test: run and slide on a smooth surface and see which foot instinctively goes forward. These tests usually reveal your more dominant foot, which is typically your back foot in snowboarding.
Determining whether you’re regular or goofy is vital as it influences your bindings setup and your overall regular or goofy stance on the board, thereby affecting your balance, control, and riding efficiency.
Selecting the Ideal Stance Width

After determining your dominant foot, you should now choose your ideal stance width. Picture your feet on the board; the distance between them is your stance width, which is often close to your shoulder width. But how wide should your stance be? This often comes down to personal preference and your riding style. While there are recommended reference stances marked on most boards, they’re just a starting point.
Some riders opt for a wider stance to increase stability, while others prefer a narrower stance to enhance maneuverability. Each stance offers its own set of benefits for different riding styles. It’s all about finding what works best for you, which leads us to our next point: the benefits of wider and narrower stances.
Wider Stance Advantages
Are you contemplating a wider stance? You’re in good company. Freestyle riders, in particular, are fans of a wider stance. Why? Because it offers better balance and control, providing a more stable base for landings. This is crucial when you’re pulling off dynamic moves in the park. But the benefits of a wider stance aren’t limited to freestyle riding. If you’re riding on bumpy terrain, a wider stance can help you see upcoming bumps and maintain a smoother ride.
How does a wider stance bring about these benefits? When you widen your stance, you’re essentially widening your hips, which gives you more control and allows for better weight shifting. This is particularly beneficial when riding on rails or landing on bumpy terrain. From even weight distribution to better edge hold and improved performance in powder conditions, a wider stance can be a game-changer for many riders.
Narrower Stance Benefits
Conversely, a narrower stance also offers its unique advantages. If you’re a freeride snowboarder or simply prefer making quicker, more precise turns, a narrower stance might be your go-to. With your feet closer together, you have more maneuverability and can easily pivot and transition between turns.
A narrower stance can also make your snowboard more stable during landings and allow you to put more pressure on the board’s nose and tail, especially when used with positive binding angles.
Adjusting Stance Width for Different Terrains
Understanding the pros of both wider and narrower stances, you might be pondering which one to opt for. The answer? It depends. Different terrains require different levels of stability and maneuverability, and adjusting your stance width can help you achieve the perfect balance. For instance, a wider stance provides more stability, which is great for going fast and handling rough terrain like icy conditions. On the other hand, a narrower stance is better for making precise turns, especially in powder conditions.
When you’re getting used to a new stance width, it’s best to make small changes. This way, you can gradually get used to the differences in stability and control. Don’t be afraid to experiment and try out your new stance in different conditions to see what works best for your style and the terrain you’re on.
Binding Position and Boot Size Alignment
Having settled on your dominant foot and ideal stance width, it’s now essential to delve into the subtle aspects of your snowboard setup, particularly the alignment of binding position and boot size. Why does this matter? Because ensuring your bindings match your boot size is crucial for a proper fit and good control over your board. Think of it as finding the perfect pair of shoes. If they’re too big or too small, you’ll have trouble walking, let alone running.
So, how do you ensure your bindings are perfectly aligned with your boot size? It’s all about adjusting the slots or the heel cup to ensure the center of the boot is lined up with the center of the board. If your bindings don’t align with your boot size, you might experience heel lift and uneven binding placement, which can compromise your board control. If you have bigger boots, make sure the binding is centered with the heel overhang being about twice as big as the toe overhang, and adjust the highback as needed.
Fine-Tuning Your Forward Lean
With your boots and bindings perfectly aligned, it’s time to discuss your forward lean. The angle of the binding highback, which is adjustable on most snowboard bindings, affects your forward lean. More lean can make your heel-side turns sharper and more responsive, as it changes the angle of the highback. On the other hand, decreasing forward lean gives you a more relaxed riding vibe, as it makes your knees bend a bit and takes some pressure off your legs.
How should you modify your forward lean? Most bindings have a simple screw or move system on the highback. To adjust the forward lean, just move the highback to the minus for less forward lean or to the plus for more.
Mastering Binding Angles for Enhanced Control

Another key aspect to master in your snowboard stance is the binding angles. These angles decide how your feet are placed on the board and impact important aspects like turning and doing tricks. A positive angle makes your toes point towards the front of the board, giving you more control and stability, while a negative angle makes your toes point away, which can feel more natural when riding in both directions.
Positive Angle on Front Foot
Most riders prefer a positive angle on their front foot. This angle, which makes your toes point towards the front of the board, gives you more control and improves your stability, making it easier for you to steer the board. The degree of positive angle you choose for your front foot depends on your personal preference and riding style. Usually, riders set their front foot at a positive angle between +15 and +21 degrees.
To establish this angle, commence at zero degrees, then adjust the disc to your preferred angle, commonly between +15-21 degrees, for superior control.
Experimenting with Different Angle Combinations
Although a majority of riders favor a positive angle on their front foot, trying out various binding angle combinations could assist you in finding the ideal setup that matches your riding style. Each rider is unique, so what works for one person might not work for another. Changing your binding angle can significantly affect how well you can turn on your snowboard, so don’t be afraid to try different angles to find what works best for you.
Common binding angle combinations for snowboarding are +21/+6, +18/+6, and +18/+3, but the perfect setup is different for each rider. To adjust your binding angles, start at zero degrees, then turn the disc to your desired angle. You can also angle out your back foot to match your front foot for a more aggressive stance angles.
Popular Snowboard Stances and Their Benefits

Having examined the subtleties of snowboard stance width and binding angles, let’s now delve into some popular snowboard stances and their corresponding advantages. Whether you’re a freestyle enthusiast or a freeride snowboarder, there’s a stance that suits your style and improves your performance on the slopes.
Duck Stance (Positive/Negative)
The Duck stance, with your feet pointing outwards, is a favorite among freestyle riders. This stance makes it easier for riding switch (switching your leading foot), meaning you can perform tricks in either direction. In a duck stance, your front binding is angled towards the nose at 15 to 21 degrees, and the rear binding is angled towards the tail at -3 to 6 degrees.
The goofy stance offers more stability and makes it easier to do tricks in the park, making it a go-to stance for freestyle riders and terrain park enthusiasts.
Alpine Stance (Positive/Positive)
The Alpine stance, with both bindings angled forward, is favored by riders who love aggressive carving and heel-side turns. This stance, also known as the forward stance, lets you put the same oomph in both toe-side and heel-side turns, especially on a wider snowboard. In an Alpine stance, both binding angles are pointed towards the nose of the snowboard, with a higher angle on the front foot and a lesser positive angle on the back foot.
If you’re into aggressive carving and want pinpoint precision in your turns, the Alpine stance might be your go-to.
Old School Stance (Positive/Zero)
Last but not least, we have the Old School stance, with a positive angle on your front foot and a zero angle on your back foot. This stance, also known as the Forward stance, is great for beginners transitioning from the duck stance and regular riders who occasionally ride switch.
In this stance, the front binding is angled towards the nose, and the back binding is set perpendicular to the edge at zero degrees. This stance gives a good mix of control and flexibility, making front-side carves and switch riding easier on the knees.
Adapting Your Stance for Various Riding Styles
Having delved into various snowboarding stances, it’s important to comprehend that your stance should be tailor-fit to your favored riding style. Whether you’re a powder fanatic, a freerider, an all-mountain rider, or a freestyle enthusiast, your stance should reflect your riding style and goals on the slopes. The stances we’ve discussed so far are not set in stone. They’re just starting points, and as you gain experience and try out different riding styles, your stance can evolve.
Remember, the best stance is the one that feels right to you and enhances your performance on the slopes, so use your reference stance as a starting point.
Transitioning to a New Stance: Tips for Success
Eager to test out a new stance but unsure where to begin? The key to a successful transition is to make gradual adjustments. Here’s how:
Start with your reference width and angles that fit your riding style.
Make small changes from there.
Practice makes perfect, and the more you experiment with your new stance, the more comfortable you’ll become.
You can also try some exercises at home, like dynamic squats and yoga, to help with muscle memory, posture, and to lower the risk of getting hurt. Remember to be aware of your body and ensure you’re not hunching over, keeping your weight even on both feet, and not standing too upright while strapping in, as these can affect your balance and technique.
The Influence of Personal Preference on Stance Selection
Though grasping the technical elements of snowboard stances is crucial, the impact of personal preference should never be overlooked. After all, you’re the one riding the board, so your stance should be comfortable and enhance your performance. It’s common for riders to continually tweak their stances to suit their evolving style and abilities.
So, don’t be afraid to experiment with different stance widths and angles to find what feels right for you, including trying a centered stance. Remember, the perfect stance is different for everyone. It’s about finding the balance between comfort and performance that works best for you.
Mobility Duo Programs for Snowboarders
If you aim to elevate your snowboarding performance, the Mobility Duo programs, crafted explicitly for snowboarders, are worth exploring. These programs, such as SNOGA and Shred 3.0, focus on enhancing performance, preventing injuries, and promoting longevity on the mountain.

The SNOGA program, for example, targets snowboard-specific muscle groups and includes weekly HIIT workouts to reduce aches and pains, improve strength, increase endurance, and improve balance and flexibility. Similarly, the Shred 3.0 program is a 12-week workout regimen that includes strengthening, endurance, mobility, plyometrics, speed, and agility exercises aimed at improving overall snowboarding performance. With these programs, you can ensure that your body is in the best shape possible to hit the slopes.

Summary
Mastering your snowboard stance is more than just standing on a board; it’s about understanding your body, your style, and how these elements interact with your equipment. From determining your dominant foot to adjusting your stance width and binding angles, every detail plays a crucial role in your performance on the slopes. Remember, the perfect stance is a combination of technical understanding and personal preference. So, don’t be afraid to experiment and find what works best for you. With the right stance and the help of programs like Mobility Duo’s SNOGA and Shred 3.0, you’re well on your way to carving your path on the mountain, one turn at a time.


